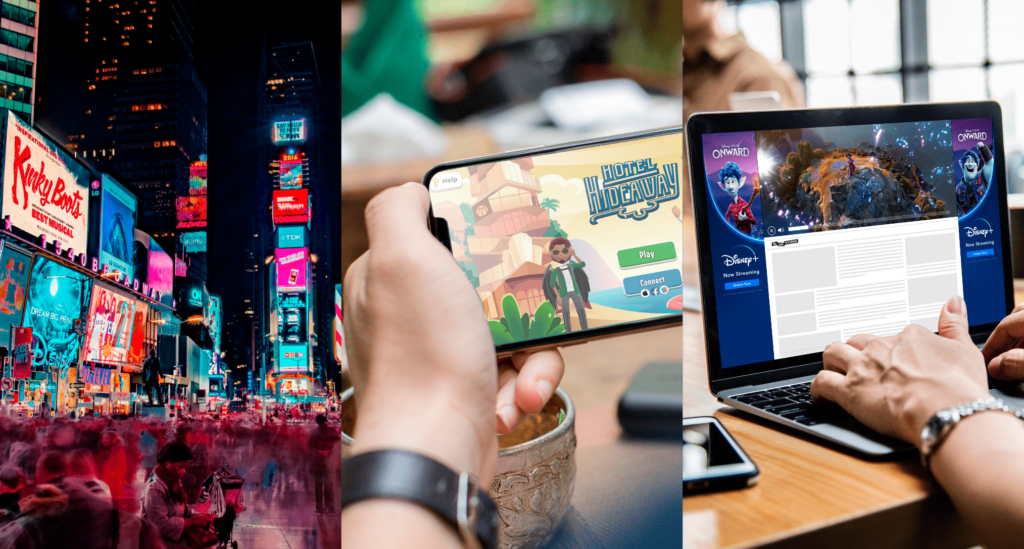
Digital entertainment is more exciting with Azerion. Games, videos, and content that capture users’ imaginations and keep them coming back are essential to what we do.
Our owned and operated content reaches hundreds of millions of avid users on a monthly basis worldwide and our technology helps advertisers engage their target audiences. We do all of this inside a carefree digital environment defined by its high quality games and content, brand and user safety and security, and responsible business practices.
We are a scaled platform that serves the interest of advertisers, digital publishers, game creators and consumers
Do more with your ad spend
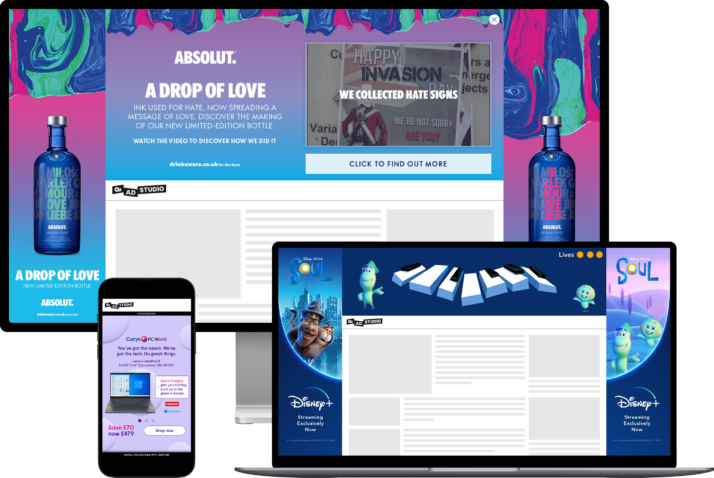
You want to maximise your ad reach. Azerion's advertising technology puts your brand in front of billions of users inside Europe’s largest digital platform.
Be part of the most successful story
More engagement means more revenue. By using Azerion content, you improve site engagement. By using Azerion technology, your content generates more revenue.
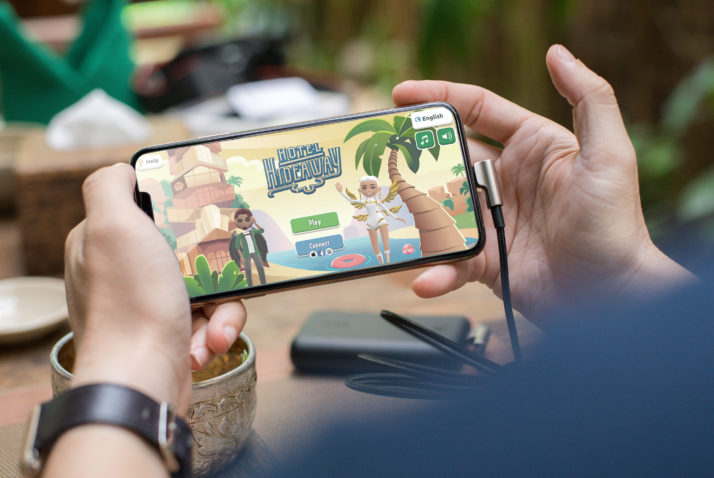
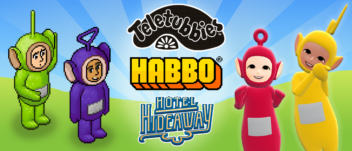
Thousands of games, free to enjoy, safe to play
Immerse yourself in our digital worlds and gameplay. With us, you get safe, secure casual, social, and MMO gaming and entertainment featuring vibrant communities, global brands, and the world's most popular characters.
Capitalise on your creative potential
Game developers and content creators who work with us get access to a market primed for new and exciting content. We want your content to be played a lot, to get great reviews, and to earn you a lot of revenue. To us, that success means more creative freedom for you to make more great content. Get in touch with us so we can set up a revenue sharing partnership.
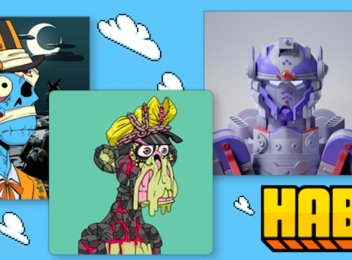
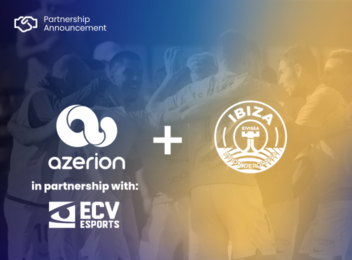
What's happening @Azerion


Trusted by thousands of brands, agencies and digital publishers across the world


After sales service and support
We know your market and are experts in the technology that your day-to-day business depends on.